Design Tips for Long Pages

Keeping Readers Engaged from Start to Finish
Ever feel like your long web pages or blog posts are a bit like a marathon for your readers? You put your heart and soul into creating content, but keeping your audience engaged through it all can be a real challenge. Let’s chat about how to make those long pages visually interesting to keep your readers reading!
It’s not just about filling space; it’s about crafting an experience that captivates and entices from the first word to the last. So, whether you’re a blogger, service provider, or running a small business, get ready to transform your lengthy content into a delightful journey that your readers will love every step of the way.
1
Visual Hierarchy: Your Content’s Compass
First things first, let’s talk about guiding your readers through your content like a friendly tour guide. Visual hierarchy is all about arranging elements so they shout out their importance, but in a polite way, of course.
Big, Bold, and Beautiful Headlines: These are your party-starters. They’re the first thing to catch your reader’s eye, so make them stand out. Subheadings are the trusty sidekicks – a little smaller but still super important.
Colors That Speak Volumes: Just like picking the perfect outfit, choose colors that highlight the most important bits of your content. It’s like putting a spotlight on the best parts of your party.
2
Bite-Sized Paragraphs and Nifty Bullet Points
Nobody likes reading a wall of text – it’s like listening to a never-ending story. If I had to pick one design tip for a long page or blog post it would be short paragraphs and bullet points. Keep your paragraphs short and sweet. Think of them as the small, delightful appetizers at a party.
Bullet Points are Lifesavers: They’re great for lists and make your content easier to digest – like those yummy bite-sized snacks everyone loves.
3
Pictures and Graphics: The Eye Candy

We all love a good picture, right? Think about the last time you scrolled through a website or a blog post; what caught your eye first? Chances are, it was an image or a graphic. Adding these elements to your long pages or posts is like hanging up those fun decorations that make your party pop! Not only do they break up lengthy stretches of text, but they also add a dash of visual excitement that keeps readers engaged.
Match Your Style: Your visuals should coordinate well with your brand’s vibe. If your brand is all about being quirky and fun, go for bright, bold images that make a statement. If you’re more on the professional side, opt for sleek, high-quality graphics that exude sophistication. Remember, every image or graphic is a reflection of your brand, so choose wisely.
Tell a Story: Images and graphics are more than just pretty add-ons; they can be powerful storytelling tools. Use them to illustrate points, add context, or even evoke emotions. A well-chosen image can often communicate complex ideas more effectively than paragraphs of text. It’s like those moments at a party where a picture or a decoration sparks a conversation and brings people together.
Quality Matters: Quality is key, ensure your images and graphics are high-resolution and look professional. Blurry or pixelated images can be a turn-off for readers and may affect their perception of your brand. It’s like showing up to a party with wilted flowers for your host or hostess – it just doesn’t give off the right vibe.
4
Whitespace: Your Content’s Breathing Room
Imagine attending a party where there’s ample room to move around, mingle, and enjoy the atmosphere. That’s exactly what whitespace does for your content. It’s the open, uncluttered space in your design that allows your readers to breathe. Just like a well-organized party, it creates a comfortable environment where guests (or readers, in this case) don’t feel overwhelmed.
Whitespace, often referred to as negative space, isn’t just empty space – it’s a powerful design element. It helps in balancing out your content, making it more readable and easier on the eyes. When you give your text and images some room to breathe, you’re allowing your readers to absorb and process the information more effectively.
Why Whitespace is Important:
- Enhances Comprehension: Studies show that proper use of whitespace between lines of text and around margins can increase comprehension by up to 20%.
- Focuses Attention: Like a spotlight in a dark room, whitespace can be used to draw attention to specific content like a call to action or a particularly important piece of information.
- Improves Readability: A cluttered page can be daunting. Whitespace breaks your content into digestible chunks, making the reading experience more pleasant.
- Aesthetic Appeal: Whitespace contributes to the overall aesthetic of your page, making it appear professional and intentional. It’s the difference between a crowded, noisy room and an elegant, well-arranged space.
Remember, whitespace isn’t wasted space. It’s a crucial element in your design toolkit that helps to create a harmonious layout. By strategically using whitespace, you’re not just designing a page; you’re crafting an enjoyable reading experience. It’s like hosting the perfect party where everyone feels relaxed, engaged, and eager to stay.
5
Subheadings and Quotes: The Sparklers
Light up your content with subheadings and highlighted quotes. They’re like those sparklers that draw everyone’s attention to where the fun is.
Subheadings break up your content into manageable, interesting segments.
And make easy for readers to skim and find what they’re most interested in. Highlighted quotes, on the other hand, are like those memorable one-liners at a party that everyone talks about. They capture the essence of your message and leave a lasting impression.
"Good content is not just about the information; it's about guiding the reader through a story. Subheadings and quotes are like the stars in the night sky – they guide the way and add a sparkle of intrigue."
6
Fun Interactive Elements
Who doesn’t love a little interaction? Adding polls or quizzes to your content is like throwing in a surprise game at your party – it keeps things lively and engaging.
Hover into the whitespace to the right to see what’s on my mind at the moment while I write this post.
7
Smooth Navigation: No Getting Lost Here
Just like having clear signs at a party or event, make sure your content has a flow that’s easy to follow. It’s all about making your readers feel at ease as they journey through your content. To enhance this experience, consider incorporating jump links or a table of contents, especially for longer posts. This is like giving your readers a handy map at the beginning of the party, so they know exactly where to find what they’re looking for.
Jump Links:
These are links within your post that instantly take the reader to a specific section. They’re perfect for long posts, allowing readers to skip directly to the parts they’re most interested in.
How to Add Jump Links in WordPress:
- Identify the sections in your post that would benefit from jump links.
- Use anchor tags to create unique IDs for these sections.
- Link to these IDs from the top of your post or wherever you want the jump link to appear.
Table of Contents:
A table of contents provides a clear overview of your post’s structure at the very beginning. It’s particularly useful for lengthy, detailed posts, allowing readers to get a sense of what’s covered and jump straight to sections of interest.
How to Create a Table of Contents with Kadence Blocks
Step 1: Add a Table of Contents Block to Your Post/Page
- Click on the ‘+’ icon to add a new block.
- Search for ‘Table of Contents’ in the block search bar.
- Select the ‘Table of Contents’ block from Kadence Blocks.
Step 2: Customize Your Table of Contents
- Once you add the block, it automatically detects and lists headings from your post.
- On the right-hand sidebar, under the ‘Block’ tab, you’ll see customization options.
- Choose which heading levels (H2, H3, H4, etc.) you want to include in your table of contents.
- Customize the appearance, such as font size, colors, and bullet style to match your website’s design.
- You can also decide whether to show the table of contents expanded or collapsed by default.
Step 3: Adjust the Table of Contents Placement
- You can place the Table of Contents block anywhere within your post.
- Simply click and drag the block to your desired location.
- Ensure it’s placed in a spot that’s easily noticeable to your readers.
Step 4: Preview and Save
- After customizing, preview your post to see how the table of contents looks in context.
- Make any necessary adjustments.
- Once you’re satisfied, click ‘Update’ or ‘Publish’ to save the changes to your post.
Step 5: Test the Navigation
- Visit the live page and test the table of contents links.
- Click on each link to ensure it smoothly scrolls to the corresponding section in the post.
By following these steps, you can easily add and customize a table of contents in your WordPress posts or pages using Kadence Blocks. This tool enhances the reader’s experience by providing a quick and easy way to navigate through your long-form content.
Keep it User-Friendly:
Whether you’re using jump links, a table of contents, or both, make sure they’re clearly labeled and easy to use. The goal is to enhance the reader’s experience, not make it more complicated.
By adding these navigation elements, you’re not just organizing your content; you’re empowering your readers. They can easily find what they need, engage more deeply with your content, and appreciate the thoughtful layout you’ve provided. Smooth navigation is a key component in ensuring that your readers have a pleasant and stress-free experience on your site.
8
Real Stories: Testimonials and Case Studies
Sharing real stories from happy clients is like having your party guests tell newcomers how awesome the party is. It adds a layer of trust and relatability. Testimonials and case studies are incredibly powerful because they offer proof of your expertise and the positive impact of your work.
Incorporating Testimonials: Select testimonials that speak to the diverse benefits of your services. Place them strategically in your content, where they can reinforce a point you’re making or illustrate a success story.
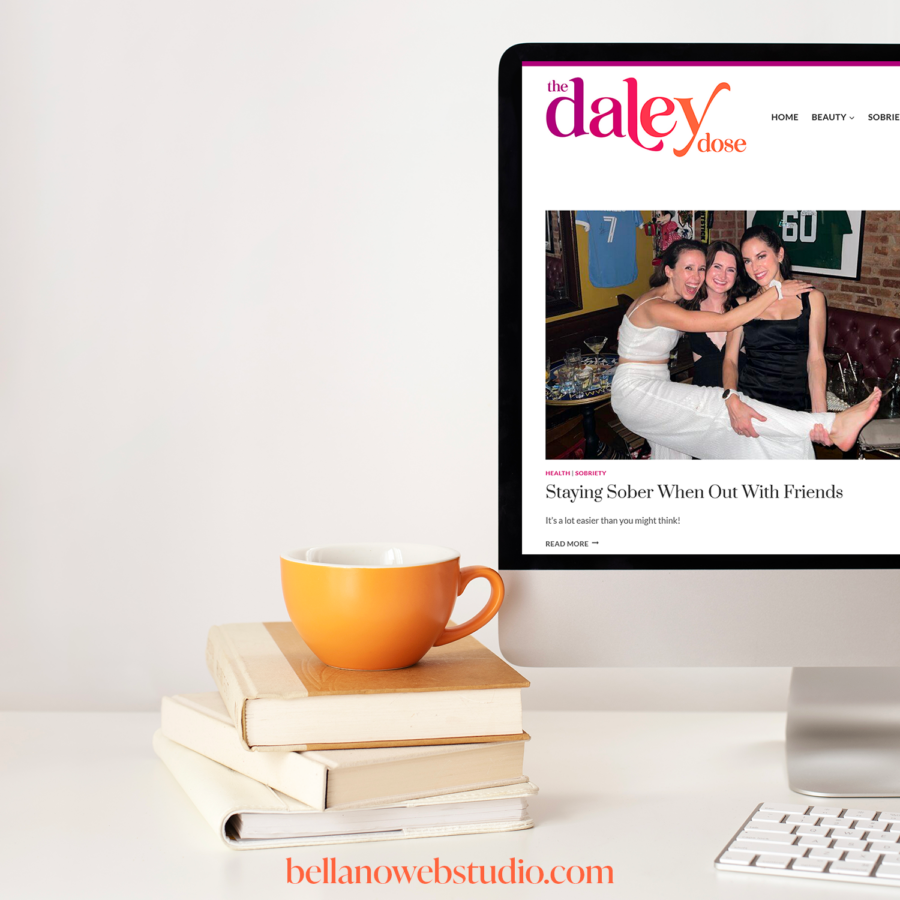
“I hired Thauna to help me move my whole site to a new website platform host, as well as help me rebrand the site. Thauna did a fantastic job of bringing my new blog ideas to life. She was really quick with every change, and super patient with me as I tried to figure out which color palette and logo best suited my new look. I feel like the difference between my old blog and new blog is day and night. The website that Thauna created is so much more elevated, easier to navigate, and does a great job of highlighting so much of the hard work I’ve put into my blog over the last year or so. I am really happy with the work she did for me and would definitely recommend her to anyone interested in website redesign!”
Daley Quinn – The Daley Dose
Freelance Journalist, Content Strategist, and Blogger
Crafting Case Studies: A well-written case study not only showcases your skills but also tells a compelling story. Outline the client’s initial challenge, describe your approach, and highlight the results. Use quotes from the client to add authenticity and a personal touch.
Visual Elements: Adding photos of your clients (with their permission) or visuals representing their projects can make your testimonials and case studies more engaging and trustworthy.
Remember, real stories resonate with readers. They see themselves in these stories, understanding how you could help them achieve similar success.
9
The Final Touch: Proofreading and a Dash of SEO
Before you hit that publish button, give your post a quick tidy-up. Look out for those pesky typos and sprinkle in some SEO magic with keywords like “Design Tips for Long Pages.” Proofreading ensures your content is polished and professional, while SEO optimization makes it more discoverable.
Proofreading Tips: Read your post out loud to catch awkward phrasing. Check for grammatical errors, spelling mistakes, and punctuation issues. You can also use tools like Grammarly for an extra layer of checking.
SEO Essentials: Incorporate your chosen keywords naturally into your content, titles, and meta descriptions. Use alt text for your images, and ensure your post is mobile-friendly and loads quickly. Remember, SEO is about making your content easily accessible to both search engines and readers.
Consistency Counts: Keep your voice and style consistent throughout your post. This reinforces your brand and makes your content more enjoyable and recognizable to your readers.
With these final touches, your content is not just well-written but also primed for better performance in search engines. It’s the perfect blend of quality and discoverability, ensuring your message reaches and resonates with your target audience.
Armed with these design tips for long pages, you’re now equipped to transform your lengthy content into captivating masterpieces. It’s not just about looking fantastic; it’s about creating an experience that resonates with your audience, encouraging them to linger, explore, and return for more of your insights and expertise.
Remember, every page you craft is an opportunity to connect with readers, share your unique perspective, and showcase the value you bring. Whether you’re a blogger, a service provider, or a small business owner, these tips are your secret ingredients for making each web page a memorable stop in your audience’s online journey.
So go ahead, apply these strategies, and watch as your content stands out in the vast digital landscape. You’re not just designing pages; you’re crafting journeys, building connections, and enhancing the way we all experience the web. Here’s to you, the creators and innovators, making the internet a more engaging, informative, and beautiful space, one page at a time!
You may also like…
Did you find this post helpful?
Hover over image to quickly save and share on Pinterest.