7 Simple Steps to Change Your Sidebar per Page or Post (GENESIS)
Let’s talk about your sidebar. Here is how can you change your sidebar if you are using a Genesis theme without changing it on all pages or posts.
Do you love your sidebar or do you hate it? A current trend is to ditch the sidebar. But this doesn’t work for a lot of bloggers. You have advertising and features that are meant to drive traffic deeper than your home page. The sidebar is a mainstay for most lifestyle bloggers.
Did you know that you can have different sidebars based on the page, category, or even the post? Having different sidebars based on your content can help you ditch the sidebar clutter and only display what is useful exactly where you want it.
Hooray! I’d love different sidebars!
Depending on your Genesis theme, you most likely have a Primary Sidebar and Secondary Sidebar options, along with different layout options for the location of the sidebar(s).
These options don’t always address all your needs. For example, you blog about recipes and crafts and it would be great to change your sidebar on each category page.
Or if you have a category index page that is visual with large photos and only post titles, it would be useful to have a clean sidebar that only displays search, categories, and archives so your reader can easily navigate through your content. Maybe add an advertising block or two as well.
How can you change your sidebar on a page, category, or even a per-post basis?
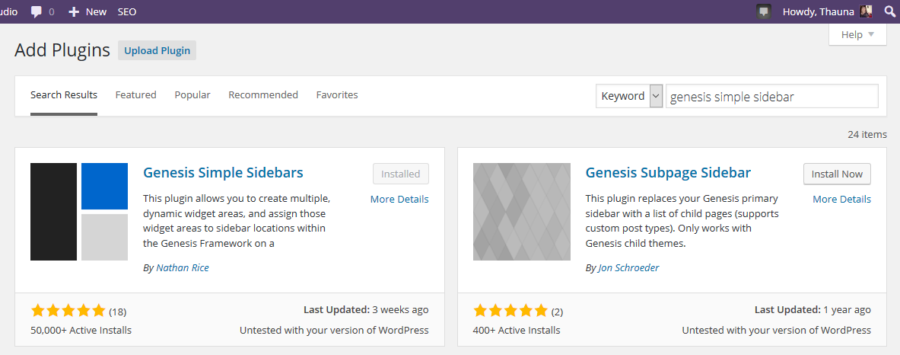
The easiest and most flexible way to change your sidebar on a content basis is to use Genesis Simple Sidebars. It’s a reputable plugin, created and maintained by Studiopress so you can trust it.
Are you ready? Let’s dive in and add some new sidebars.
Step 1 – Install Genesis Simple Sidebars and Activate
Step 2 – Navigate to Genesis >> Simple Sidebars
Step 3 – Add your new Sidebar
I’m adding a new sidebar to use on my category pages. To start add the name and an ID (no caps, no spaces), the description is optional. Then click Add New Sidebar.
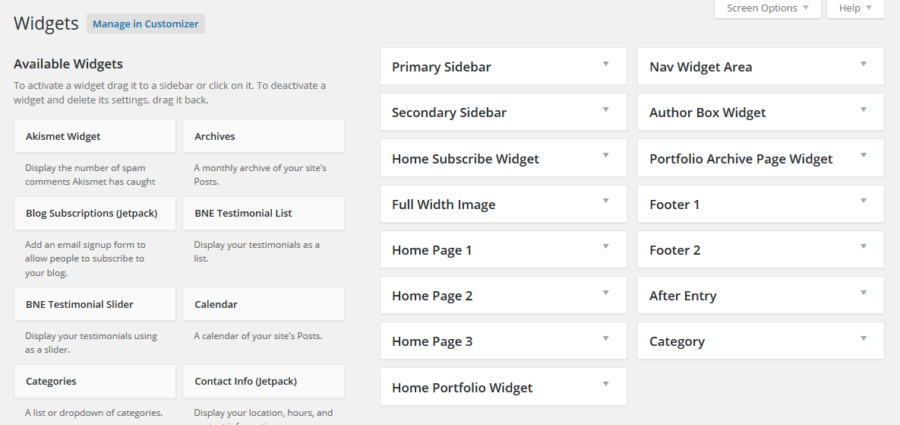
Step 4 – Navigate to Appearance >> Widgets >> Find your new sidebar
Step 5 – Populate your new sidebar
Add your desired widgets to your new sidebar.
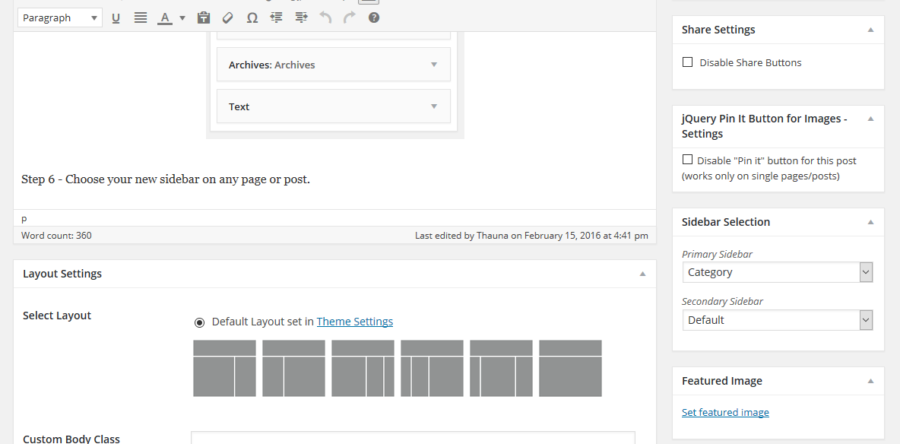
Step 6 – Choose your new sidebar on any page or post.
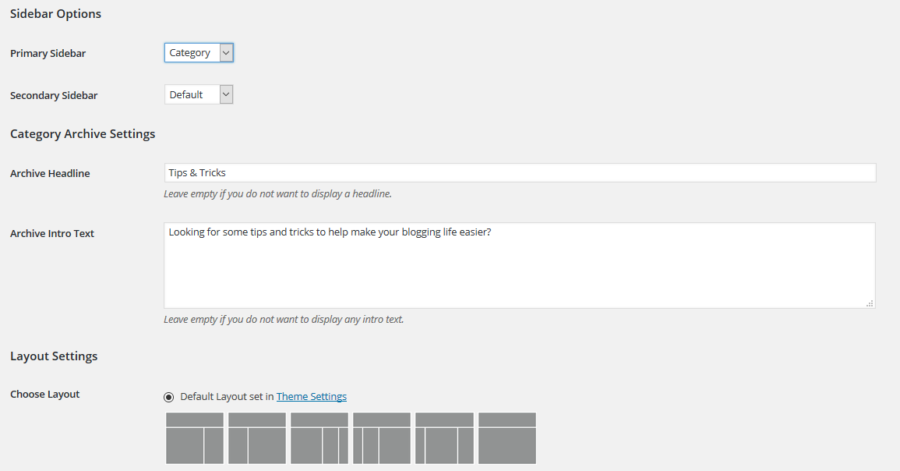
In your page or post edit window choose your new sidebar under Sidebar Selection with the dropdown. (notice you can change the selection for both the Primary Sidebar and the Secondary Sidebar). The Default is your Primary/Secondary sidebar created by your theme (it will say Default). You can also change the page/post’s Layout Setting to choose a different layout than your default.
Step 7 – Change Sidebar on Category page. Navigate to your Category Edit window >> Posts >> Categories >> Choose Category >> Edit
Scroll down to Select Sidebar. Make sure you click Update at the bottom of the screen.
Done! Simple right?
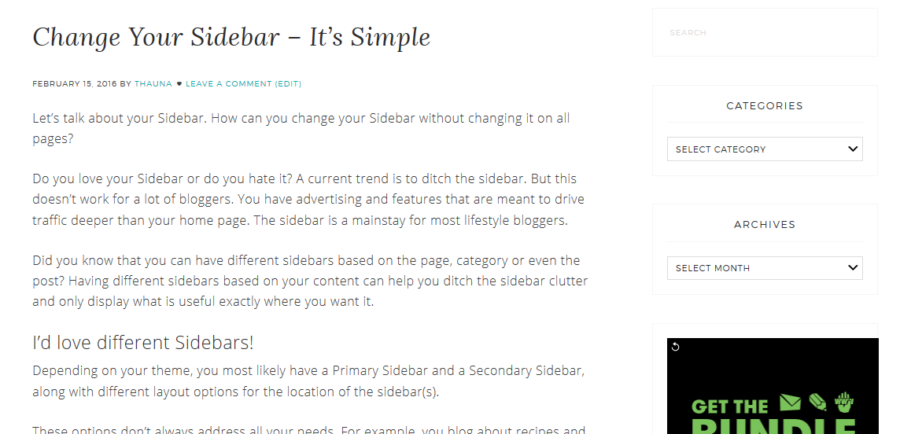
This post has my new sidebar so you can see it in action and how it’s different from other posts.
I’ve also changed the sidebar on my Tips & Tricks category page.

